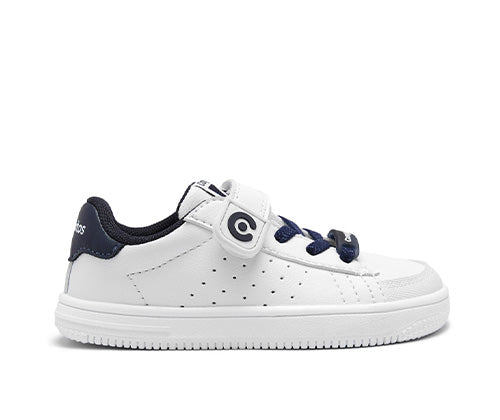
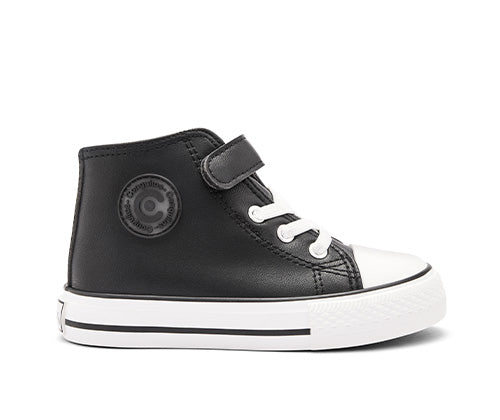
When children start to grow up, at a certain point, the shoe size they wear is no longer available in a velcro option. This is the moment when we know it's time for them to start wearing shoes with laces. They are getting older! To make it easier for you we give you some tips on how to teach them to tie their laces.
Little by little they will feel the need to feel more self-sufficient and that no adult will help them to tie their laces... Because we all like to feel that we are on our own, right? Well, we can assure you that the same thing happens to them.

There is no one way to teach shoelace tying. In this new content, we'll show you the best known and easiest tricks so you can try out which option works best for your kid. Be patient and follow these simple tricks so that, very soon, you will be able to see how they tie their shoelaces without any help from you.
Learning to tie shoelaces will be an experience in their life, so the fact that you can enjoy it as a family will be something you won't forget.
EASY TIPS ON HOW TO TIE YOUR CHILD'S SHOELACES
How do you know if your child is at the right age to learn to tie their own shoelaces? Normally, the recommended age for them to start doing it on their own is from the age of 4. Is this the case for your kid? If so, get a pen and paper and take notes.
THE BUNNY EARS TECHNIQUE
This is the ultimate shoelace tying trick, it's easy and fun! With the shoe on, we tie a knot by intertwining both laces and tightening it so that the foot is secure.
Once the knot is tied, fold the laces into bunny ears and cross them over. Through the little hole that is created we will add the back ear and that's it! Now we have a bow. The rabbit simile will awaken your kid's interest and he will want to learn how to tie shoelaces.
THE SNAKE TRICK TO MAKE A BOW
This tip is similar to the bunny ears, and even simpler. We have to cross the laces and tie a knot. Once we have it, we take one of the ends and form a bunny ear. With the other half of the cord, we tie a knot over the ear, we roll it up, as if it were a snake, and finally we put it in the hole to end up with a bow.
THE SIMPLE DOUBLE KNOT AND STRETCH
This technique for tying shoelaces is not complicated at all. . We can say that it is the simplest of all. We must start by making the shape of the two little ears, once we have them, we cross them and finish the knot. This type of loop is perfect for when you don't need a very tight knot.
THE CIRCLE TECHNIQUE
We could say that this is the most complicated of all the techniques we have described. Once we have the knot, we make another knot, but this time we leave it looser in order to form a circle. We put the cord through the circle so that it comes out on the other side, and we do the same with the remaining cord. Pull it tight and you have a tight loop.
Once the techniques have been learnt, the ideal thing to do is to work on them together with your child and see which way of tying their shoes they like best. We can then use this technique and, with patience, repeat it as a fun exercise so that they can practice without the help of adults.
Another tip? Turn the steps for tying shoelaces into a song. It has been proven that anything learned to a melody stays longer in the memory. If you are not able to create your own, you can search for a nursery rhyme for tying shoelaces among all the options offered on digital platforms.
What did you think of the tips for tying shoelaces that we have given you? Did you like them? We hope you find these techniques useful and that they make it easier for you to help the king or queen of the house in their new adventure. And, of course, have fun learning and playing at the same time!


